Cheesecake Bars are a delightful twist on traditional cheesecake, offering all the creamy goodness without the hassle. This easy recipe features a buttery graham cracker crust topped with a smooth, tangy cheesecake filling, enhanced with a touch of fresh lemon. Whether you’re making them for a family gathering, a party, or just to satisfy your sweet tooth, these cheesecake bars are sure to impress!
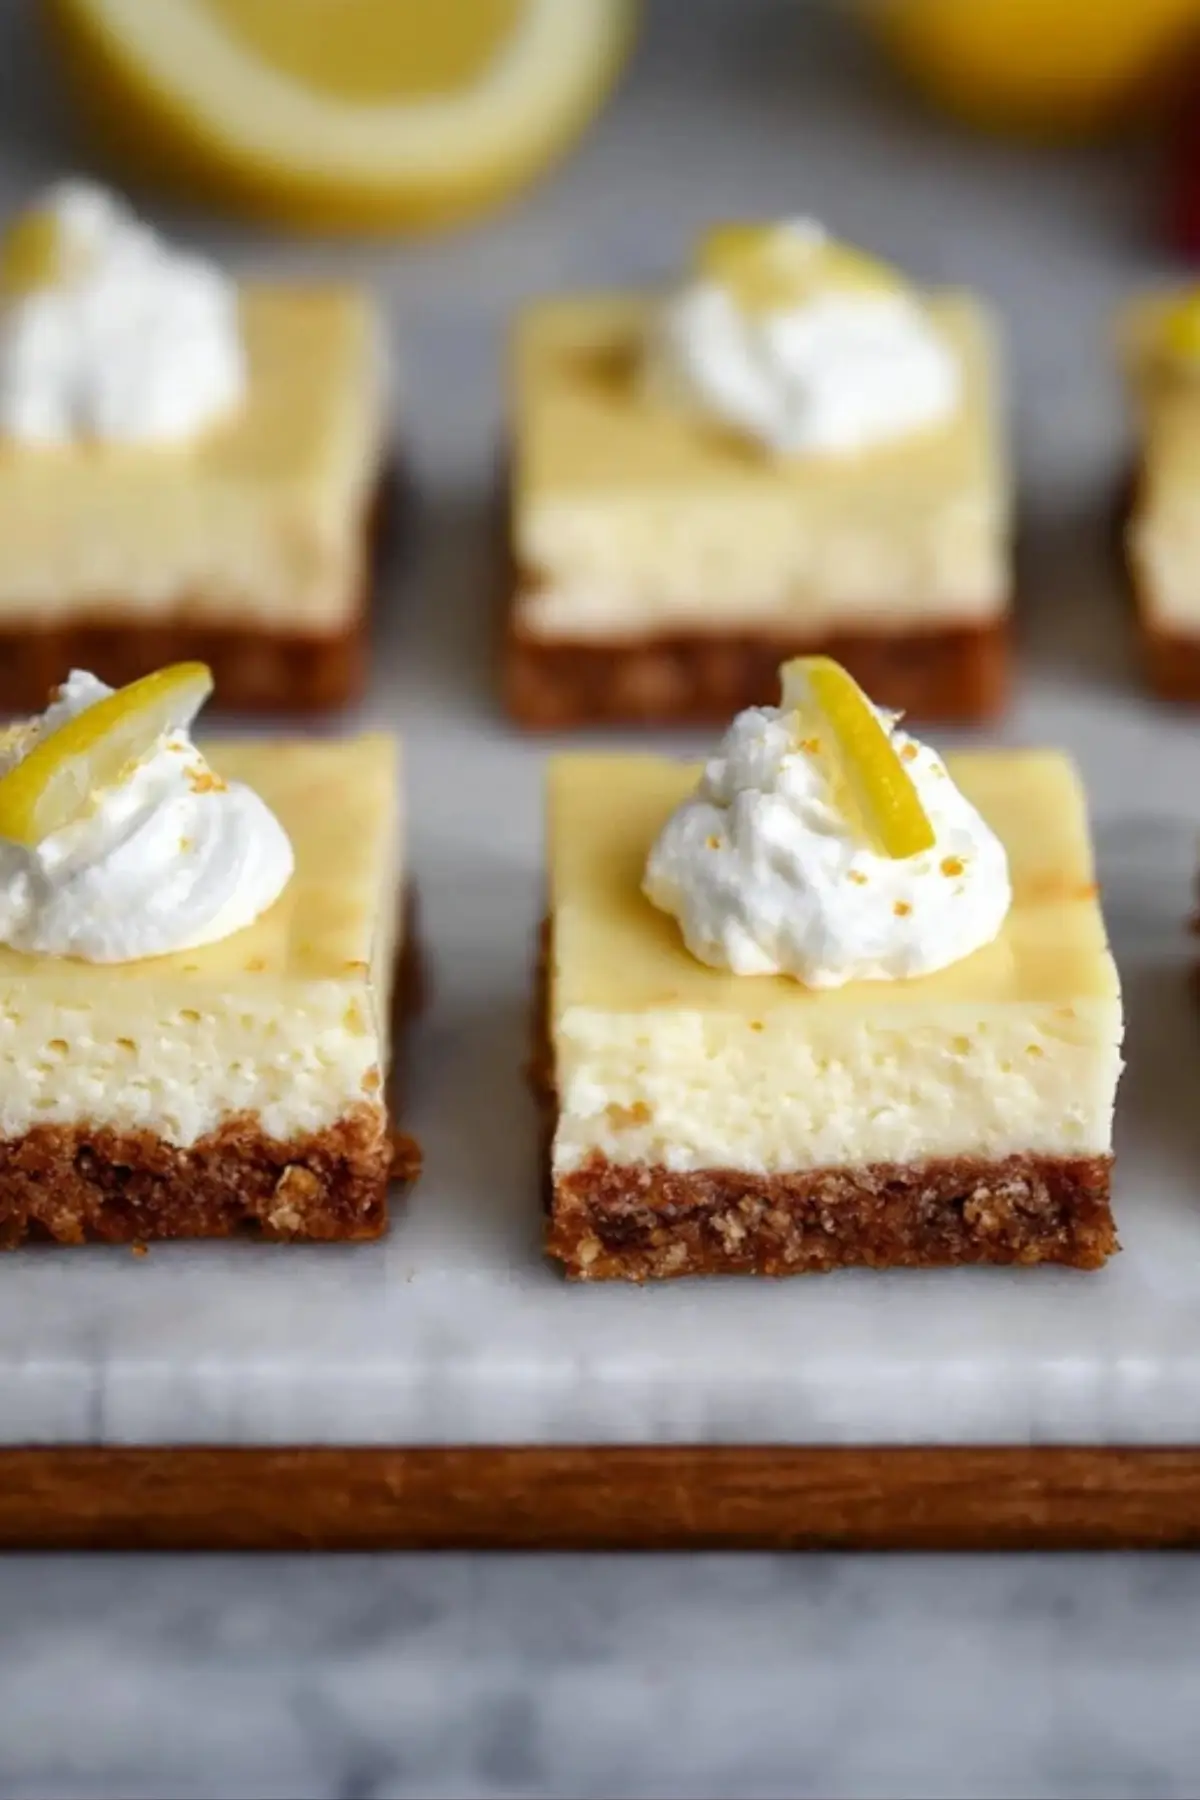
Table of Contents
Why You’ll Love These Cheesecake Bars
These cheesecake bars are a simple yet indulgent dessert, perfect for anyone craving the rich, tangy flavor of classic cheesecake but without the complicated baking techniques. The graham cracker crust adds a satisfying crunch, while the creamy, lemon-infused filling melts in your mouth. Plus, they’re incredibly easy to make, even for beginners in the kitchen.
Ingredients for Cheesecake Bars
Here’s what you’ll need to make these creamy cheesecake bars:
- Graham crackers: The foundation of the buttery crust that provides crunch and flavor.
- Unsalted butter: Helps bind the graham cracker crumbs together and adds richness to the crust.
- Full-fat cream cheese: Essential for that rich, creamy texture. Be sure to use block cream cheese, as it blends smoothly and sets up perfectly.
- Sugar: Sweetens the filling without overpowering the cheesecake’s tanginess.
- Lemon zest and lemon juice: Adds a refreshing, bright flavor that balances the richness of the cream cheese filling.
- Vanilla extract: Enhances the overall flavor and complements the lemon zest.
- Eggs: Crucial for setting the filling and giving it the classic cheesecake texture.
Alternative Ingredient Suggestions
If you’re looking to make these bars a little different or have dietary preferences, consider these swaps:
- For a gluten-free crust: Use gluten-free graham crackers or substitute with crushed Biscoff cookies for a slightly spiced flavor.
- For a dairy-free option: Substitute the cream cheese with a dairy-free cream cheese alternative and use a non-dairy butter substitute.
- For a no-lemon version: If lemon isn’t your thing, skip the lemon juice and zest and add a dash of almond extract for a different flavor profile.
Step-by-Step Instructions to Make Cheesecake Bars
Making these cheesecake bars is a breeze! Just follow these easy steps to create a delicious, crowd-pleasing dessert:
- Prepare the crust: Start by preheating the oven to 350°F. Line an 8-inch square baking pan with parchment paper and lightly grease it. Crush the graham crackers into fine crumbs using a food processor or a rolling pin and mix them with melted butter.
- Press the crust: Transfer the graham cracker mixture into the prepared pan and press it evenly into the bottom using the back of a spoon or the bottom of a glass to compact it well. Bake for 8–10 minutes, then set aside to cool.
- Make the cheesecake filling: In a stand mixer or with a hand mixer, beat the softened cream cheese and sugar until smooth. Add the lemon zest, lemon juice, and vanilla extract, mixing well. Gradually add the eggs, one at a time, beating until just combined after each addition.
- Assemble and bake: Pour the cheesecake filling over the cooled graham cracker crust and spread it into an even layer. Bake for 20–25 minutes or until the center is slightly jiggly but set around the edges. Let the bars cool at room temperature, then refrigerate for at least 3 hours or overnight to set.
- Slice and serve: Once the cheesecake bars are fully chilled, remove them from the pan using the parchment paper overhang. Slice them into squares and enjoy!
Tips & Tricks for Perfect Cheesecake Bars
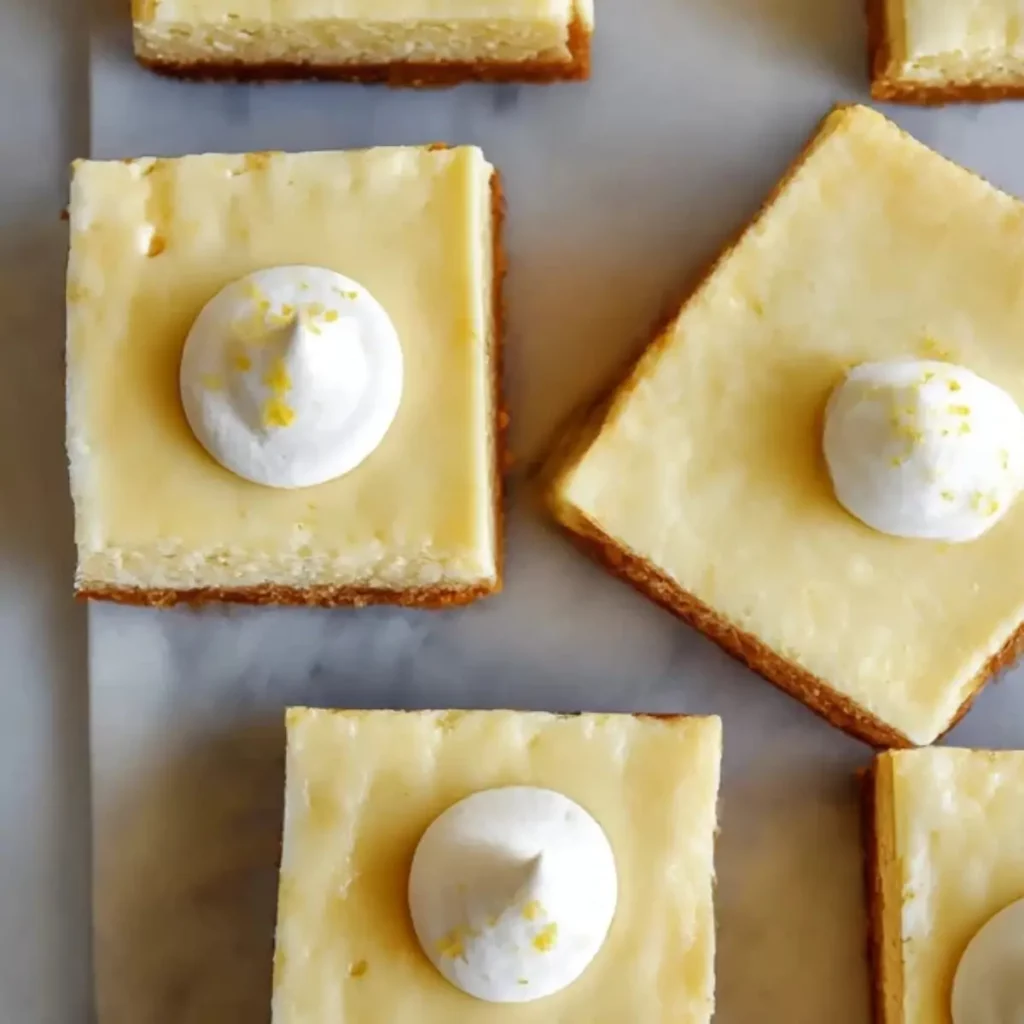
- Clean slices: For perfectly neat cuts, warm your knife under hot water, dry it off, and then slice the bars. Clean the knife after each cut to avoid messy edges.
- Use room-temperature cream cheese: Ensure your cream cheese is softened to room temperature for a smooth, lump-free filling.
- Don’t overbeat the eggs: Beat the eggs just until combined to avoid cracks in your cheesecake bars.
- Chill overnight: The cheesecake bars set better if you let them chill overnight in the fridge.
Pairing Ideas and Variations
These cheesecake bars are incredibly versatile! Here are some topping ideas and variations to customize your dessert:
- Topping ideas: Add a dollop of whipped cream, fresh berries (like blueberries or raspberries), a drizzle of caramel, or even a sprinkle of chopped nuts like pecans or almonds.
- Add a twist: For a more decadent treat, drizzle chocolate ganache or butterscotch sauce on top of the bars. Or, for a festive touch, try adding sugared cranberries during the holiday season.
- Freeze for later: Cheesecake bars freeze wonderfully. Place the cooled bars on a plate and freeze them uncovered until firm. Then, wrap them tightly in foil or store in a freezer bag for up to 2 months. Thaw them in the fridge before serving.
Why These Cheesecake Bars Are the Perfect Make-Ahead Dessert
Cheesecake bars are ideal for preparing in advance. You can make them up to two days before your event and store them in the fridge, so they’re ready when you need them. This makes them an excellent option for holiday gatherings, parties, or whenever you need a no-fuss dessert that’s sure to impress.
Conclusion
These easy cheesecake bars are the ultimate dessert for any occasion. With their creamy, slightly tangy filling, buttery graham cracker crust, and the option for endless topping variations, they’re sure to become a family favorite. The best part? They’re simple to make, can be prepared ahead of time, and are guaranteed to impress your guests. Whether you enjoy them plain, topped with whipped cream, or drizzled with caramel, these cheesecake bars will always be a hit!
FAQ: Cheesecake Bars
Can I make cheesecake bars without lemon?
Yes! If you prefer a cheesecake bar without the lemon flavor, simply omit the lemon zest and lemon juice. The cheesecake will still be deliciously creamy and sweet. You can also add a different flavor extract, like almond or coconut, for a unique twist.
How can I make my cheesecake bars thicker?
If you want thicker cheesecake bars, you can increase the filling by adding an extra package of cream cheese and adjusting the sugar accordingly. Ensure the baking pan is slightly smaller to achieve the right thickness, or simply double the recipe for a larger batch.
Can I freeze cheesecake bars?
Yes, cheesecake bars freeze beautifully! After they’re cooled and sliced, place them on a plate and freeze them uncovered until firm. Then, wrap them tightly in foil or store them in an airtight container. When you’re ready to serve, thaw them in the fridge overnight.
More Relevant Recipes
- Lemon Velvet Cake Recipe: This moist and tangy lemon cake is a perfect companion to the cheesecake bars. With a creamy frosting and refreshing citrus flavor, it’s ideal for anyone who loves lemony desserts.
- Mini Sausage Christmas Wreath: If you’re looking for a savory option with festive appeal, this mini sausage wreath offers a delicious, bite-sized alternative that pairs well with the creamy sweetness of cheesecake bars.
- Gingerbread Cupcakes with Cinnamon Vanilla Frosting: These spiced cupcakes offer a warm, comforting flavor, making them a great contrast to the bright and refreshing lemon flavor of the cheesecake bars. Perfect for the holiday season!
Easy Cheesecake Bars Recipe
- Prep Time: 15 minutes
- Cook Time: 25 minutes
- Total Time: 4 hours 25 minutes
- Yield: 12 bars 1x
- Category: Dessert
- Method: Baking
- Cuisine: American
- Diet: Vegetarian
Description
These easy cheesecake bars are a simple, delicious dessert with a buttery graham cracker crust and a creamy, tangy filling. A hint of lemon adds brightness to the filling, making this dessert a perfect treat for any occasion.
Ingredients
- 1 1/2 cups finely crushed graham crackers
- 3 tablespoons unsalted butter, melted
- 2 (8-oz.) packages cream cheese, at room temperature
- 1/2 cup sugar
- 1 teaspoon fresh lemon zest
- 1 tablespoon lemon juice
- 1 teaspoon vanilla extract
- 2 large eggs
Instructions
- Preheat the oven to 350°F. Line an 8-inch square baking pan with parchment paper and lightly grease it.
- In a medium bowl, mix the crushed graham crackers with melted butter. Press the mixture firmly into the prepared pan to form the crust.
- Bake the crust for 8–10 minutes, then remove it from the oven and set aside to cool.
- In a mixing bowl, beat the cream cheese and sugar until smooth. Add the lemon zest, lemon juice, and vanilla extract, and mix well.
- Add the eggs one at a time, mixing only until combined after each addition.
- Pour the cheesecake filling over the cooled crust and spread it evenly.
- Bake for 20–25 minutes, or until the center is just slightly jiggly. Remove from the oven and allow to cool completely.
- Refrigerate for at least 3 hours or overnight to set the cheesecake bars.
- Once chilled, remove the bars from the pan using the parchment paper overhang, slice into squares, and serve.
Notes
- For a thicker cheesecake, consider adding an extra package of cream cheese and adjusting the sugar.
- Use room-temperature cream cheese for a smooth and creamy filling.
- If you prefer a gluten-free crust, use gluten-free graham crackers or Biscoff cookies as a substitute.
- For extra clean cuts, use a warm knife to slice the bars.
- You can freeze leftover cheesecake bars by wrapping them in foil and placing them in a freezer bag for up to 2 months.
Nutrition
- Serving Size: 1 bar
- Calories: 246 kcal
- Sugar: 12g
- Sodium: 206mg
- Fat: 17g
- Saturated Fat: 9g
- Unsaturated Fat: 7g
- Trans Fat: 0g
- Carbohydrates: 18g
- Fiber: 1g
- Protein: 3g
- Cholesterol: 76mg