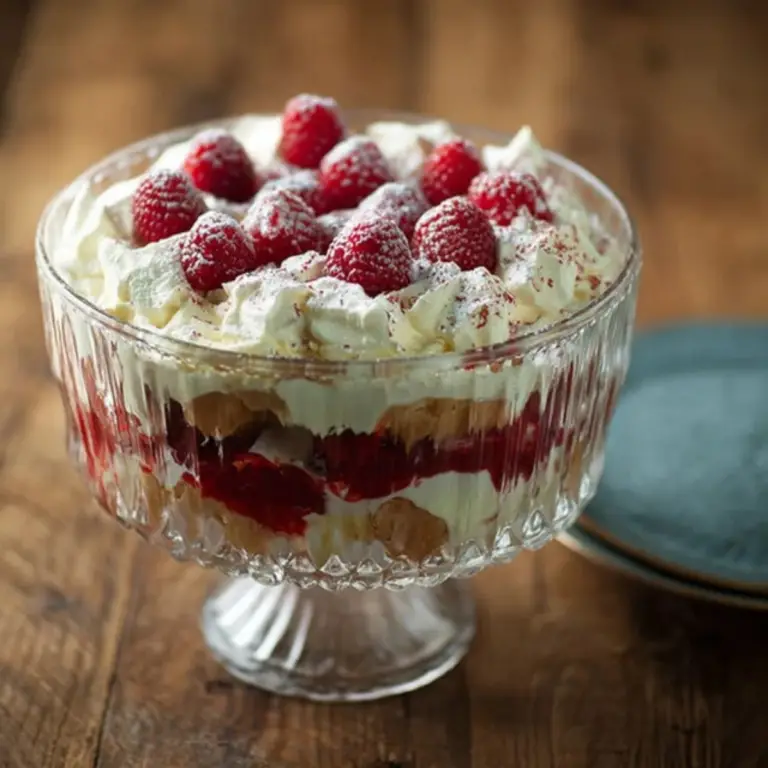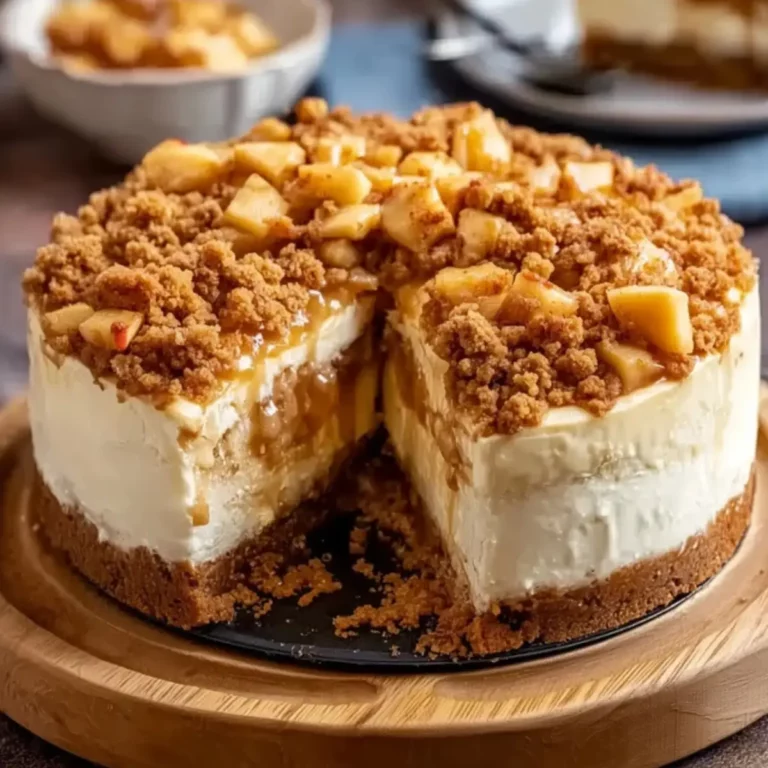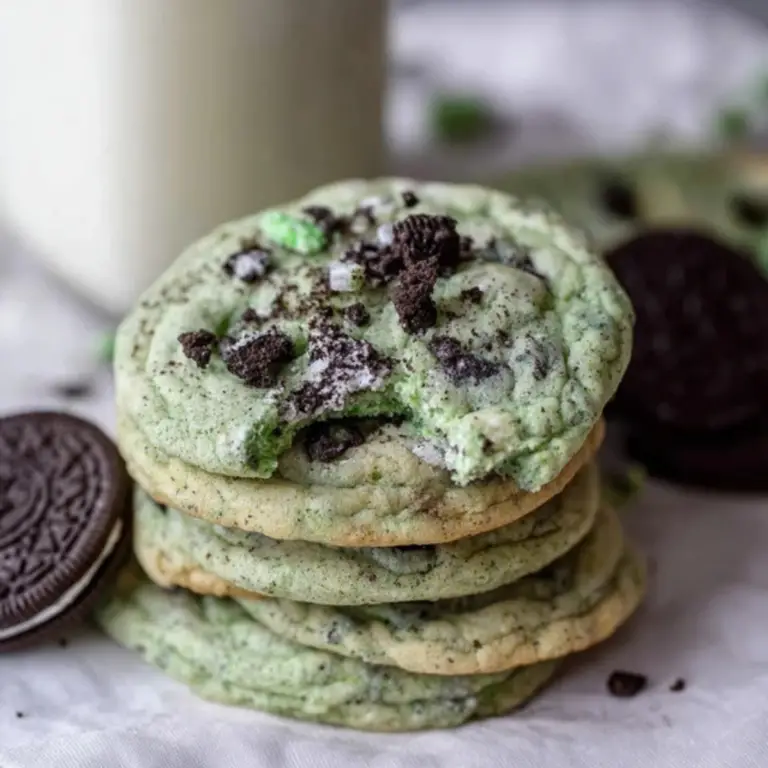
Halloween is the perfect time to indulge in creepy, fun, and delicious treats, and nothing screams spooky season more than a Bloody Good Halloween Cheesecake. This easy-to-make cheesecake features a rich chocolate cookie base, creamy white chocolate filling, and a blood-red drip that’s as horrifyingly delicious as it is visually striking. Whether you’re hosting a Halloween party or simply indulging in a fun fall treat, this cheesecake will be a showstopper!
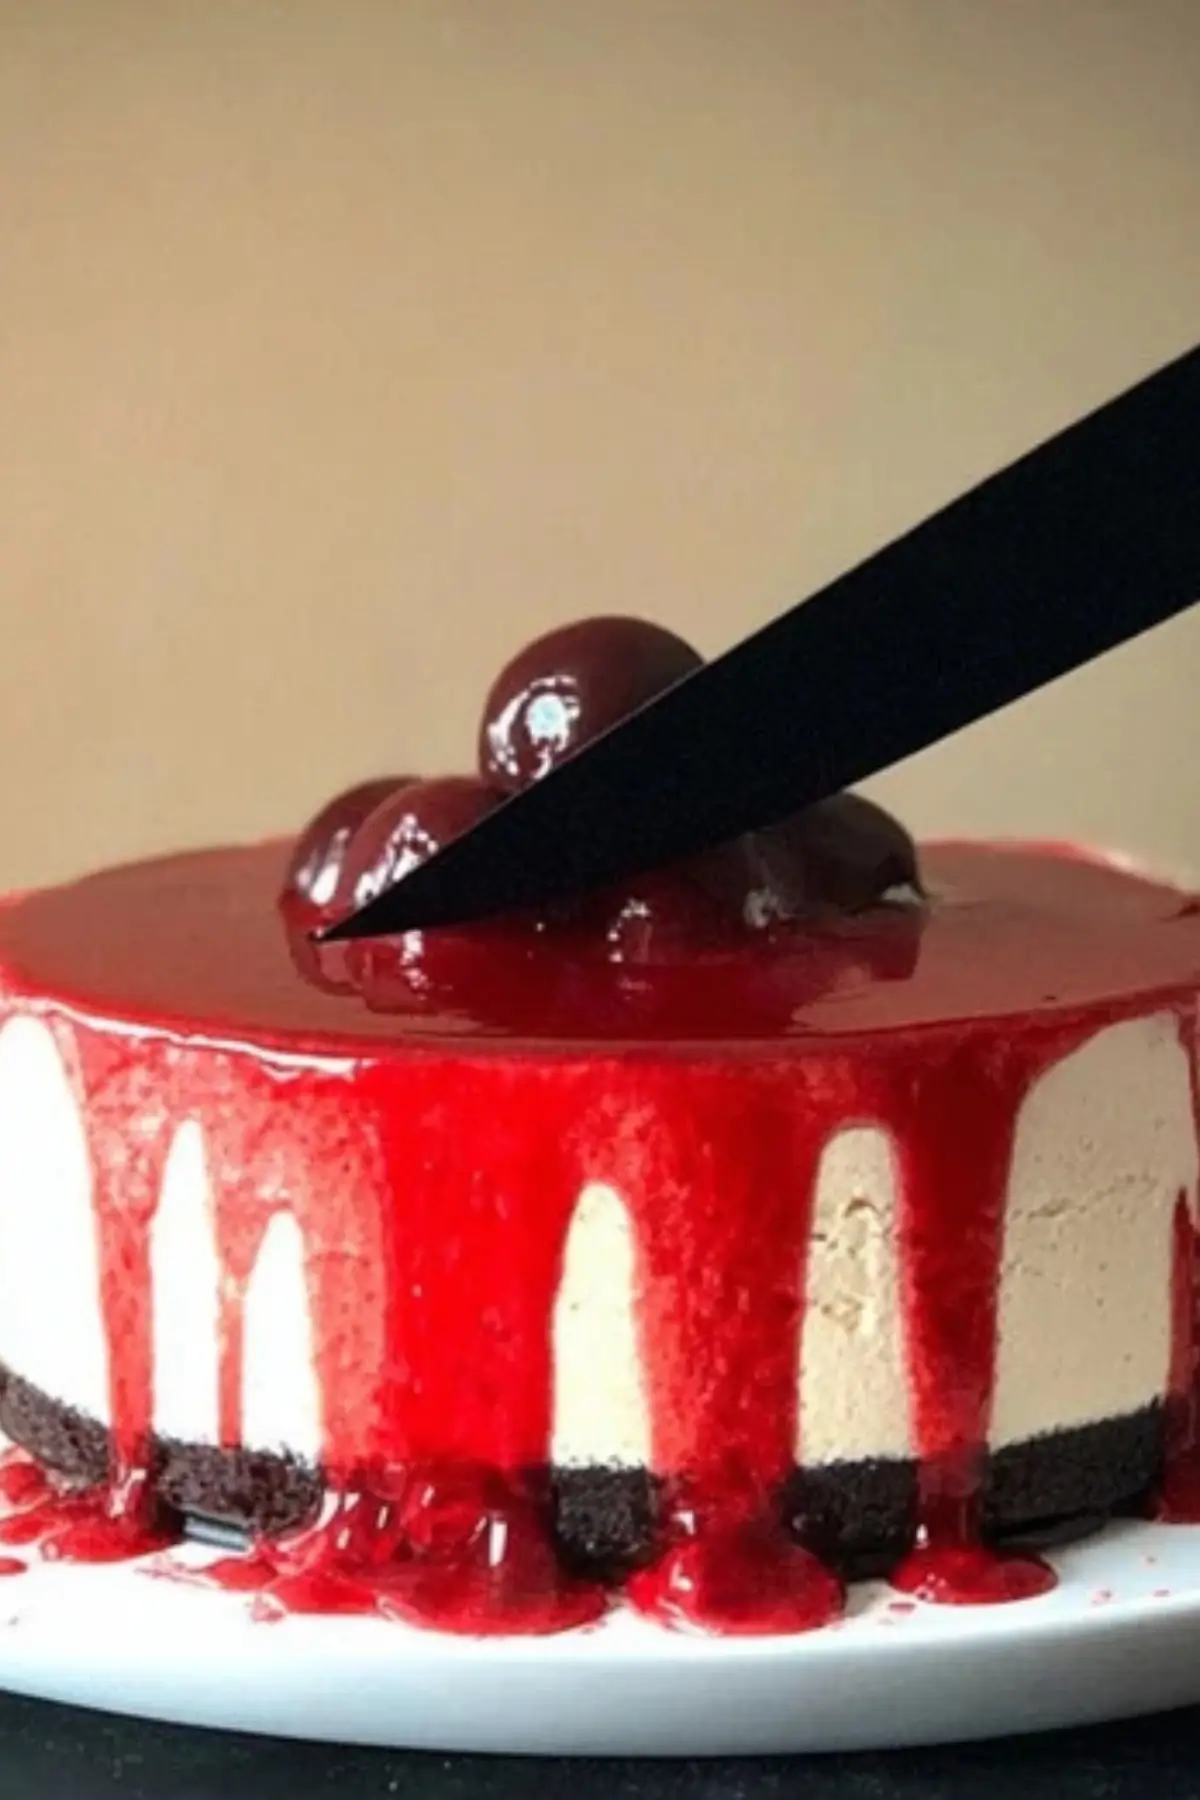
Table of Contents
Why You’ll Love This Bloody Good Halloween Cheesecake
This Bloody Good Halloween Cheesecake combines the best of both worlds: it’s a decadent dessert that’s perfect for the spooky season and an easy, no-fuss recipe. The chocolatey base is complemented by a creamy white chocolate filling, with a vivid blood-red drip adding a touch of Halloween gore. This no-bake cheesecake requires minimal effort for maximum impact, making it a fantastic choice for both seasoned bakers and beginners alike.
The highlight of this recipe is the smooth, velvety white chocolate cheesecake that pairs perfectly with the crunchy, dark chocolate cookie base. It’s a Halloween dessert that balances both the flavors and the spooky aesthetic, ensuring your guests are as thrilled by the taste as they are by the presentation.
Ingredients
To create your Bloody Good Halloween Cheesecake, you’ll need the following ingredients:
For the chocolate cookie base:
- Oreos: Provides a deep, rich chocolate flavor and a crunchy base texture.
- Salted butter: Adds richness and helps bind the cookie crumbs together.
For the white chocolate cheesecake:
- White chocolate: The star of the cheesecake filling, offering smooth, creamy texture and a sweet flavor.
- Full-fat cream cheese: Adds the necessary tang and creaminess to balance the sweetness of the white chocolate.
- Vanilla extract: Enhances the overall flavor with a touch of warmth.
- Lemon juice: A little acidity to brighten the flavor and cut through the richness.
- Salt: Enhances the flavors and balances the sweetness.
- Double cream: Whipped to stiff peaks to give the cheesecake its creamy, airy texture.
For the red drip:
- Condensed milk: Forms the base of the blood drip with its rich sweetness.
- Cocoa powder: Adds depth to the red blood color and flavor.
- Vanilla extract: Complements the chocolate and cocoa flavors.
- Red food coloring paste or gel: To achieve that vibrant blood-red color.
Alternative Ingredient Suggestions
If you’re looking for alternatives to suit dietary preferences or preferences, consider the following swaps:
- For a gluten-free version: Swap the Oreos for gluten-free chocolate cookies.
- Dairy-free option: Use dairy-free cream cheese and substitute the double cream with coconut cream.
- For a darker flavor: Replace the white chocolate with dark chocolate for a rich, intense cheesecake.
Step-by-Step Instructions
- Prepare the Chocolate Cookie Base:
Start by greasing a 23cm (8in) springform tin and lining it with greaseproof paper. If you have a food processor, blitz the Oreos into fine crumbs. Alternatively, place them in a freezer bag and crush them with a rolling pin. Melt the butter in a microwave or on the stove. Add the melted butter to the Oreo crumbs and mix until the texture resembles wet sand. Press the mixture into the base of your tin, then refrigerate for at least 30 minutes to firm up. - Make the White Chocolate Cheesecake Filling:
Gently melt the white chocolate either in a heatproof bowl over simmering water or in the microwave. Allow it to cool slightly. In a separate bowl, beat the cream cheese, vanilla extract, lemon juice, and salt until smooth. In another bowl, whip the double cream to stiff peaks. Gently fold the whipped cream into the cream cheese mixture, then fold in the melted white chocolate until fully incorporated. - Assemble the Cheesecake:
Remove the cookie base from the fridge and spread the cheesecake mixture over it, smoothing the top with a spatula. Return the cheesecake to the fridge for at least 2 hours to allow it to set properly. - Prepare the Red Drip:
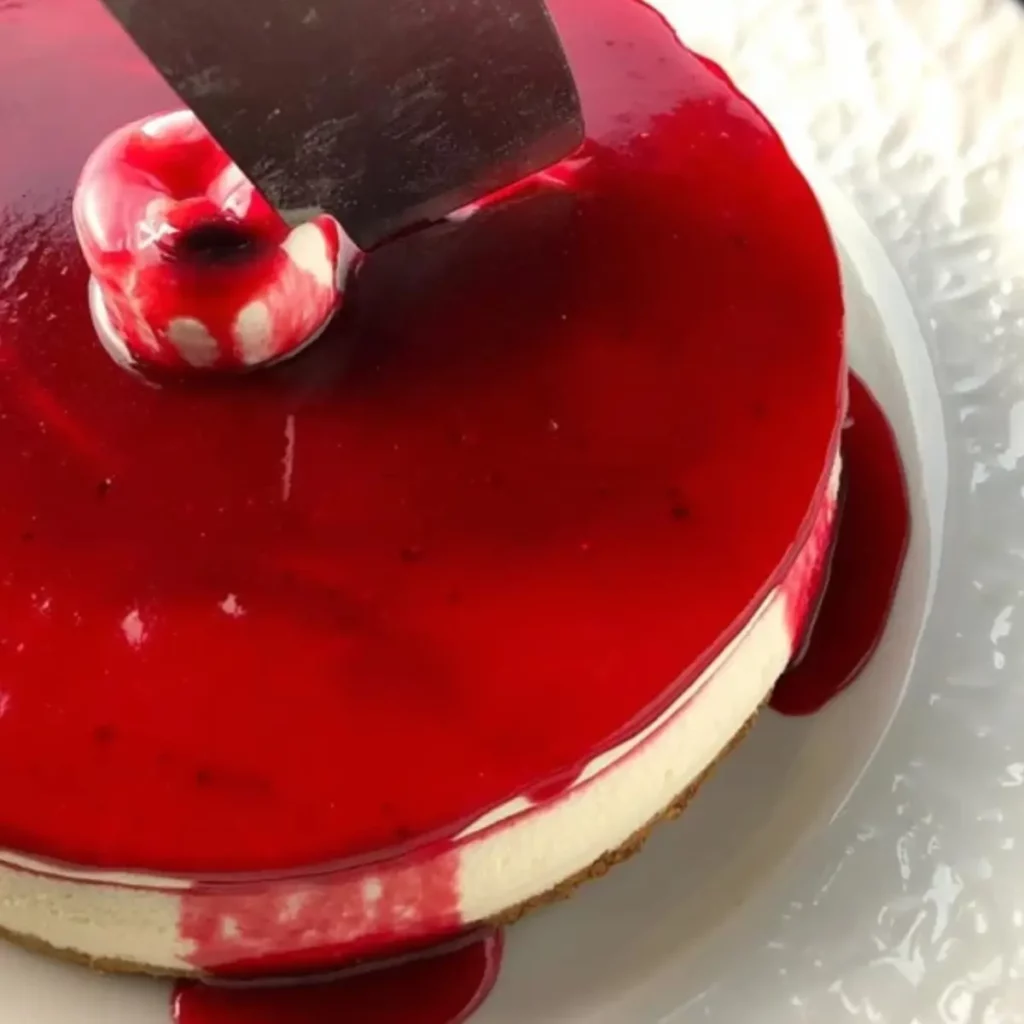
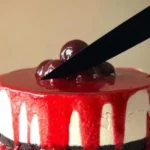
In a medium-sized bowl, mix together the condensed milk, cocoa powder, vanilla extract, and red food coloring until you achieve a vivid red hue. Once the cheesecake has chilled and set, carefully remove it from the springform tin and place it on a serving plate. Spoon the red drip over the top of the cheesecake, allowing it to gently drip down the sides. For added effect, insert a knife into the center of the cheesecake to create the “bloody” effect. - Serve:
Your Bloody Good Halloween Cheesecake is now ready to be served! Enjoy the delicious combination of rich chocolate and smooth white chocolate with a spooky, festive twist.
Tips & Tricks
- Texture Tip: Make sure to chill the cheesecake for the full 2 hours to allow it to firm up. This ensures the filling holds together nicely when sliced.
- Blood Drip: For a more dramatic blood drip effect, use gel food coloring for a thicker, more defined look.
- Leftover Cheesecake: Store any leftover cheesecake in the fridge for up to 3 days. It’s best served fresh for the most dramatic presentation, but it still tastes delicious for a few days after.
Pairing Ideas and Variations
While this Bloody Good Halloween Cheesecake stands well on its own, you can make it even more exciting with some fun pairings or variations:
- Pairing with a dark chocolate sauce: A drizzle of rich dark chocolate sauce adds an extra layer of decadence.
- Spicy version: Add a pinch of chili powder or cayenne to the cookie base for a spicy twist.
- Topping Ideas: Top with crushed candy bars, chocolate shavings, or gummy worms for an extra spooky touch.
If you plan to make it ahead of time, it can be assembled the day before Halloween, leaving you with more time to enjoy the festivities. Simply keep it refrigerated until you’re ready to serve.
A Sweet Treat for Halloween Lovers
This Bloody Good Halloween Cheesecake is the perfect dessert for those who love Halloween’s spooky charm without the need for elaborate decorations. The deep chocolate base, creamy white chocolate filling, and striking red drip make it a dessert that’s as visually exciting as it is delicious. Whether you’re serving it for a Halloween party or a cozy night in, this cheesecake is sure to be a crowd-pleaser.
Conclusion
This Bloody Good Halloween Cheesecake is a delightfully spooky and delicious dessert that captures the essence of Halloween in both flavor and presentation. Whether you’re a seasoned baker or just looking for a fun treat to celebrate the season, this recipe is a crowd-pleaser that requires minimal effort for maximum impact. The combination of rich chocolate cookie crumbs, creamy white chocolate filling, and the dramatic red “blood” drip will make this cheesecake the star of your Halloween festivities. Serve it up at your next Halloween party or enjoy it as a treat for yourself — this cheesecake is guaranteed to leave an impression!
Frequently Asked Questions (FAQs)
Can I make the Bloody Good Halloween Cheesecake in advance?
Yes, you can prepare this cheesecake up to 24 hours before serving. Simply assemble the cheesecake, chill it in the fridge, and add the red drip and knife insert just before serving to keep the effect fresh and dramatic.
What can I use instead of Oreos for the crust?
If you need a gluten-free or different option, you can substitute the Oreos with gluten-free chocolate cookies or graham crackers. For a richer flavor, try using chocolate digestive biscuits or a mix of your favorite cookies.
Can I use a different type of chocolate for the filling?
Absolutely! While white chocolate is traditionally used in this recipe, you can switch it out for dark chocolate or milk chocolate for a different flavor profile. Just make sure to melt the chocolate before incorporating it into the cream cheese mixture.
More Relevant Recipes
- Monster Mac and Cheese Halloween Recipe: This fun and spooky Halloween dish is perfect for both kids and adults. With creepy monster-shaped pasta and a cheesy, creamy sauce, it’s an easy way to celebrate the season in a savory way alongside your sweet treats.
- Bloody Guts Cinnamon Rolls Halloween Breakfast: A perfect way to kick off your Halloween festivities, these cinnamon rolls are filled with a gooey red icing resembling “bloody guts.” This fun breakfast treat will be a hit with both kids and adults who are ready for something spooky in the morning.
- Halloween Oreo Stuffed Chocolate Chip Cookies: For those who can’t get enough of cookies, these Oreo-stuffed chocolate chip cookies are a Halloween must-try. The combination of gooey chocolate chip cookies with a surprise Oreo center is both festive and indulgent for the season.
Bloody Good Halloween Cheesecake Recipe
- Prep Time: 20 minutes
- Cook Time: None
- Total Time: 2 hours 30 minutes (including chilling time)
- Yield: 8 servings 1x
- Category: Dessert
- Method: No-Bake
- Cuisine: American
- Diet: Vegetarian
Description
This Bloody Good Halloween Cheesecake is the perfect spooky dessert for Halloween. Featuring a dark chocolate cookie base, creamy white chocolate cheesecake, and a dramatic blood-red drip, it’s a visually stunning and delicious treat that’s sure to impress at any Halloween gathering. The cheesecake is easy to prepare and does not require baking, making it a great no-fuss option for Halloween parties.
Ingredients
- 200g (7oz) Oreos
- 70g (5 tbsp) salted butter
- 200g (7oz) white chocolate
- 600g (21oz) full-fat cream cheese
- 1 tsp vanilla extract
- Juice of ½ a lemon
- Pinch of salt
- 300ml (1 ¼ cups) double cream
- 150g (½ cup) condensed milk
- 1 tsp cocoa powder
- 1 tsp vanilla extract
- Red food coloring paste or gel
Instructions
- Prepare the chocolate cookie base: Grease and line a 23cm (8in) springform tin. Crush the Oreos into crumbs and mix with melted butter until it resembles wet sand. Press into the tin and refrigerate for at least 30 minutes.
- Make the white chocolate cheesecake filling: Melt the white chocolate and let it cool slightly. Beat together the cream cheese, vanilla extract, lemon juice, and salt until smooth. Whip the double cream to stiff peaks, then fold it into the cream cheese mixture. Gently fold in the melted white chocolate.
- Assemble the cheesecake: Pour the cheesecake mixture onto the prepared cookie base. Smooth out the top and refrigerate for at least 2 hours until set.
- Prepare the red drip: Mix the condensed milk, cocoa powder, vanilla extract, and red food coloring to make the red drip. Once the cheesecake has set, carefully remove it from the tin and place it on a serving plate. Spoon the red drip over the top, letting it drip down the sides. Optionally, insert a knife into the center for a dramatic effect.
- Serve and enjoy! Refrigerate leftovers for up to 3 days.
Notes
- For a gluten-free version, substitute the Oreos with gluten-free chocolate cookies.
- For a dairy-free option, use dairy-free cream cheese and coconut cream instead of double cream.
- The cheesecake can be made up to 24 hours in advance for convenience.
- Ensure the cheesecake is fully chilled to achieve the best texture before serving.
Nutrition
- Serving Size: 1 slice
- Calories: 380
- Sugar: 30g
- Sodium: 150mg
- Fat: 25g
- Saturated Fat: 14g
- Unsaturated Fat: 9g
- Trans Fat: 0g
- Carbohydrates: 35g
- Fiber: 2g
- Protein: 5g
- Cholesterol: 60mg