Making homemade sourdough bread doesn’t have to be complicated or time-consuming. With the right ingredients and a little patience, you can create a perfect artisan loaf that boasts a golden-brown crust, chewy interior, and that signature tangy flavor. This easy no-knead sourdough bread recipe allows you to enjoy bakery-quality bread with minimal effort, perfect for beginners and seasoned bakers alike.
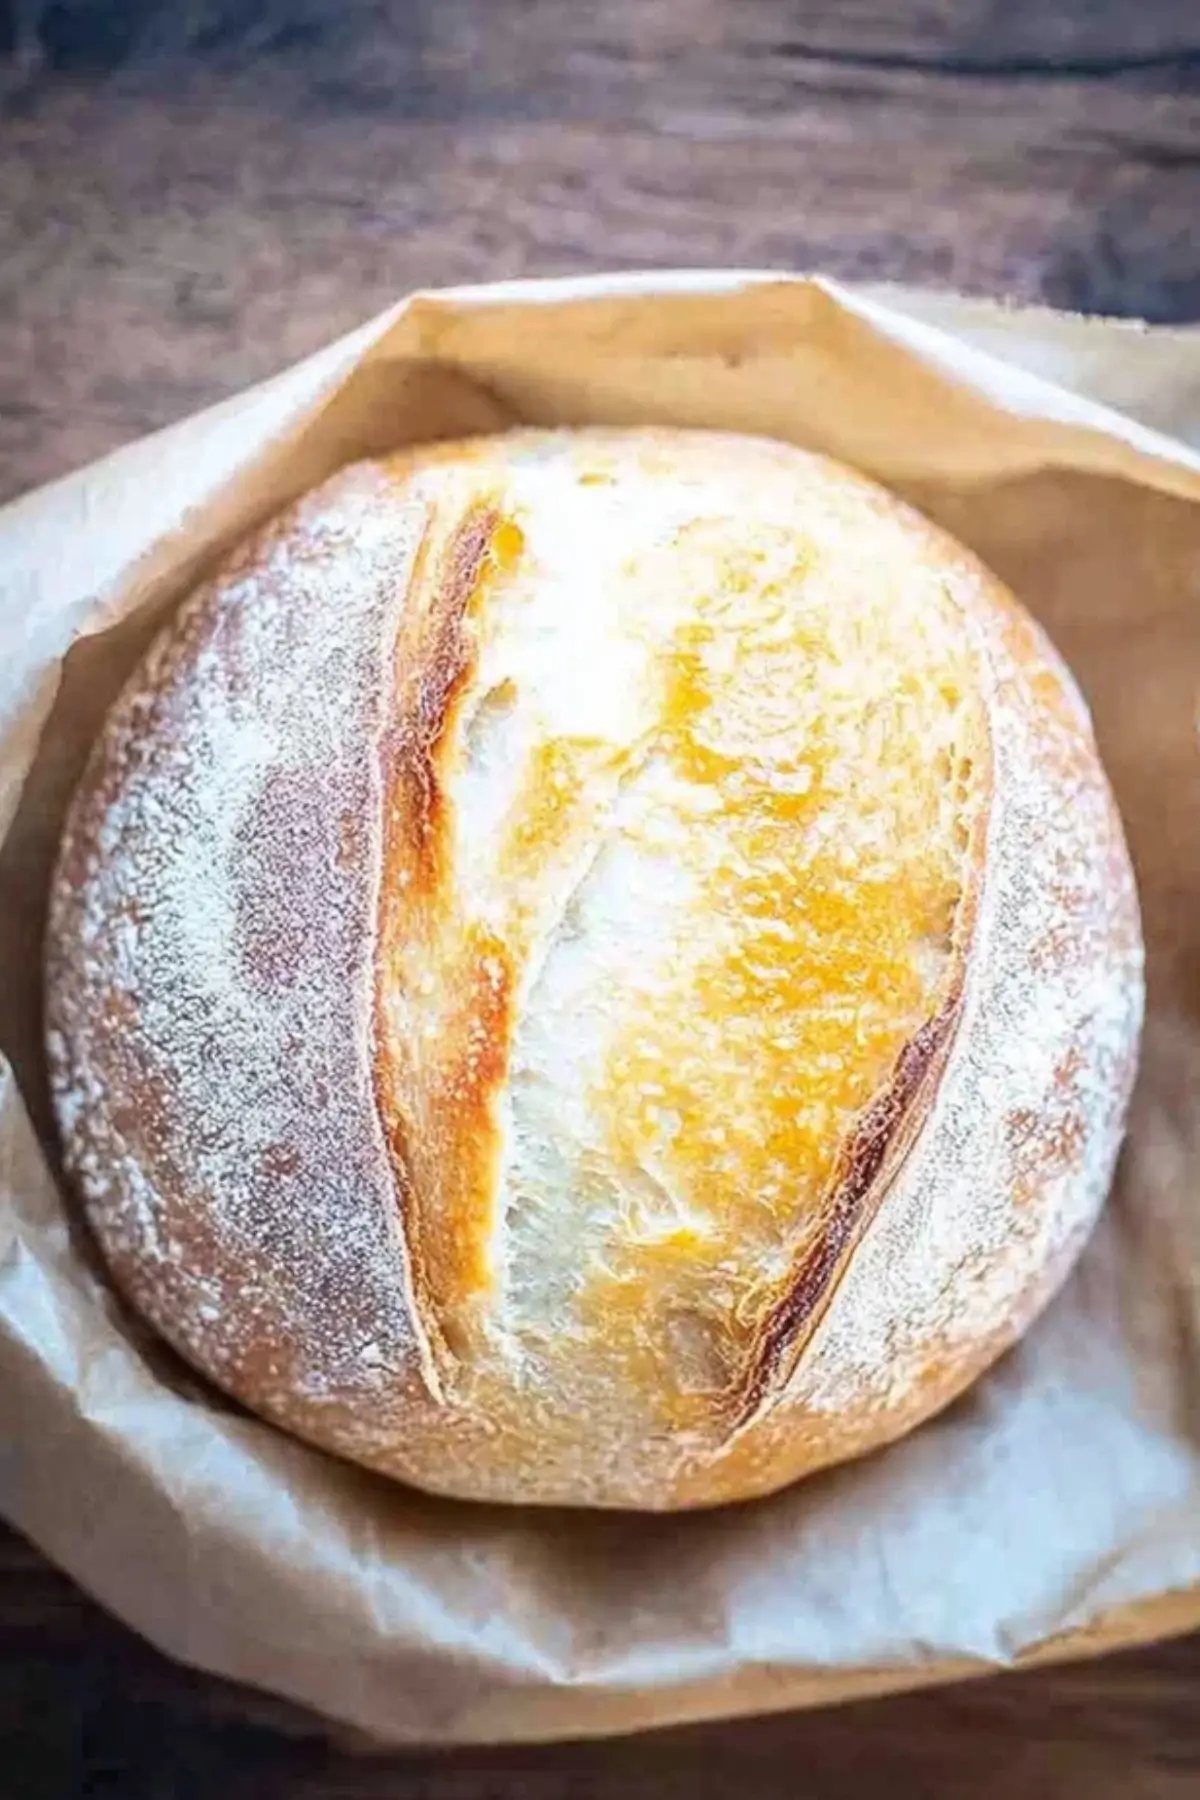
Table of Contents
Why This No Knead Sourdough Bread is a Must-Try
If you’re a fan of freshly baked sourdough, this no-knead version will quickly become your go-to recipe. It’s simple, requires minimal hands-on time, and offers a soft, airy crumb that will impress anyone. Thanks to the long fermentation process, this bread develops a rich, complex flavor that’s typically found only in artisan bakeries. Plus, it’s incredibly versatile – you can use it for everything from sandwiches to dipping into soups.
Ingredients for No Knead Sourdough Bread
Before we dive into the baking process, let’s take a look at the basic ingredients that make up this simple yet delicious no-knead sourdough bread:
• Active Sourdough Starter: The heart of your bread, providing natural leavening and a tangy flavor.
• Bread Flour: High-protein flour that gives the bread structure and helps it rise.
• Filtered Water: Clean, lukewarm water activates the starter and helps develop the dough.
• Sea Salt: Enhances the flavor and controls fermentation.
Alternative Ingredient Suggestions
If you’re missing any of the ingredients, or if you have dietary preferences, here are some alternatives:
• All-Purpose Flour: You can substitute bread flour with all-purpose flour if you don’t have it on hand.
• Whole Wheat Flour: For a heartier loaf, replace up to half of the bread flour with whole wheat flour.
• Kosher Salt: If you don’t have sea salt, kosher salt works just as well in this recipe.
Step-by-Step Instructions for Perfect No Knead Sourdough Bread
1. Prepare the Sourdough Starter the Night Before
Start by preparing your starter. Combine 25 grams of mature starter, 75 grams of unbleached bread flour, and 75 grams of filtered water (at 90°F). Stir the ingredients well and cover loosely with plastic wrap. Let it rest overnight at room temperature (65-75°F). By morning, your starter should be bubbly and double in size, ready to use.
2. Mix the Dough
The next morning, combine 100 grams of ripe starter with 300 grams of warm water (90°F) in a large mixing bowl. Stir to disperse the starter, then add 500 grams of bread flour and 10 grams of sea salt. Mix until a shaggy dough forms and use your hands to shape it into a sticky ball.
3. Let the Dough Rise
Cover the dough and let it rise for 5-6 hours in a warm environment, such as your oven with the light on. The dough should double in size and become puffy.
4. Shape the Dough
Dust your countertop with flour, then gently turn the dough out. Shape it into a rectangle and fold the sides towards the center. Flip it seam-side down and use your hands to shape it into a tight, smooth ball. Place the dough into a floured proofing basket (or a large bowl lined with a floured towel) and cover loosely with plastic wrap.
5. Second Rise
Let the dough rise for 2-3 hours until it nearly doubles in size. When pressed, the dough should feel airy and the indentation should remain.
6. Bake the Bread
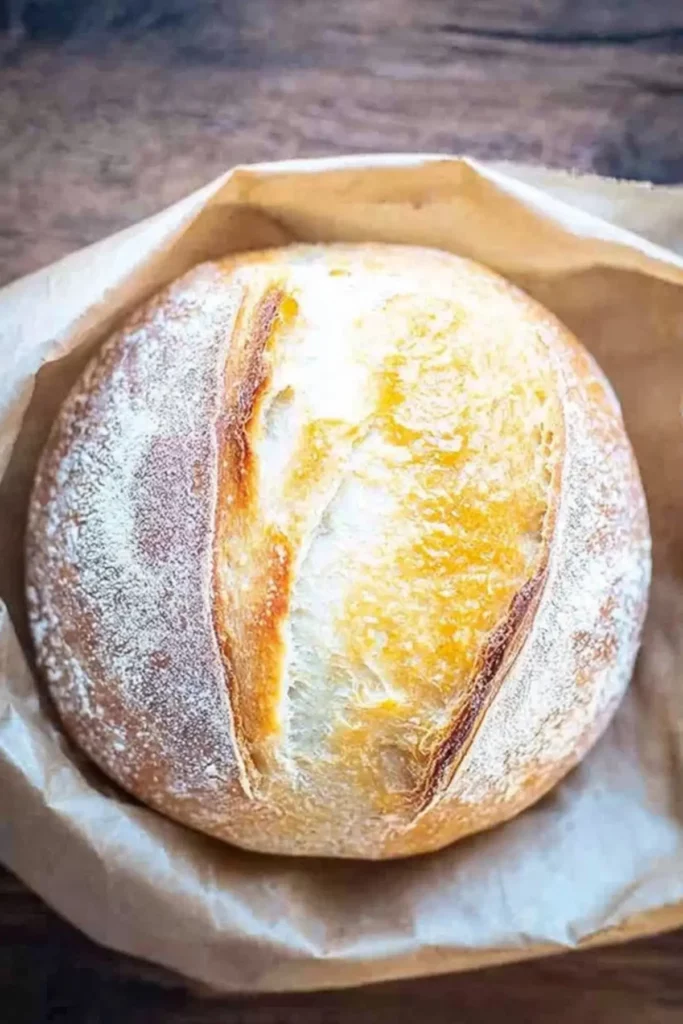
Preheat your oven to 450°F. Carefully transfer the dough onto a piece of parchment paper and score the top with a sharp knife. Place it into a preheated Dutch oven, cover with the lid, and reduce the temperature to 425°F. Bake for 40 minutes, then remove the lid and bake for an additional 5-10 minutes until the bread is golden brown.
7. Cool the Bread
Allow the bread to cool completely on a wire rack for at least two hours. This is crucial to ensure the crumb sets properly and the flavors fully develop.
Tips & Tricks for Perfect No Knead Sourdough Bread
• Use an Active Starter: Make sure your sourdough starter is bubbly and passes the float test before use.
• Keep It Warm: If your kitchen is cold, you can use your oven’s light to provide a warm spot for the dough to rise.
• Score the Dough Properly: Make confident, deep cuts to allow for proper expansion.
• Let It Cool: Resist the temptation to slice into your bread immediately. Allow it to cool fully for the best texture and flavor.
Pairing Ideas and Variations
This no-knead sourdough bread is perfect for a variety of uses:
• Grilled Cheese Sandwiches: The chewy texture and tangy flavor make it ideal for a comforting grilled cheese.
• Dipping: Serve alongside soups or stews for a hearty meal.
• Gluten-Free Option: Substitute bread flour with a gluten-free flour blend for a gluten-free version.
To store, keep the bread at room temperature in a paper bag for up to three days, or slice and freeze for up to three months.
Why Sourdough Bread Is So Special
What makes sourdough different from regular bread is the fermentation process. Wild yeast and bacteria naturally leaven the dough, which results in a complex, tangy flavor and a soft yet chewy texture. Additionally, sourdough is often easier to digest than commercially yeasted bread due to its slow fermentation.
Whether you’re a beginner or an experienced baker, this no-knead sourdough bread recipe is easy, delicious, and sure to impress. You don’t need fancy equipment or hours of kneading to create a perfect loaf – just patience, simple ingredients, and a little love for baking.
Conclusion
Making your own no-knead sourdough bread at home is a rewarding experience that doesn’t require any special skills or equipment. With just a few simple ingredients and some patience, you can create an artisan loaf with a crunchy crust, airy crumb, and tangy flavor. This easy recipe gives you all the flavor and texture you expect from a bakery loaf, without the hours of kneading or worrying about complicated techniques. Whether you’re enjoying it fresh from the oven with some butter, or using it for sandwiches, this no-knead sourdough bread will quickly become a staple in your kitchen.
Frequently Asked Questions (FAQs)
1. Can I use all-purpose flour instead of bread flour for no-knead sourdough bread?
Yes, you can substitute all-purpose flour for bread flour in this recipe. While bread flour creates a stronger structure due to its higher protein content, all-purpose flour will still yield delicious results. If you choose all-purpose flour, your loaf might have a slightly softer texture, but it will still taste great.
2. How do I know if my sourdough starter is ready to use?
Your sourdough starter is ready to use when it is bubbly, doubled in size, and passes the float test. To test it, drop a spoonful of starter into a glass of water. If it floats, it’s active and ready to go. If it sinks, give it more time to ferment and feed it a bit more flour and water.
3. Can I make this bread gluten-free?
Yes, you can make a gluten-free version of this no-knead sourdough bread by using a gluten-free flour blend. Keep in mind that gluten-free dough can be a bit stickier and may require slightly different handling, but the results will still be delicious!
More Relevant Recipes
Print
No Knead Sourdough Bread: The Easiest Way to Bake Artisan Bread at Home
- Prep Time: 15 minutes
- Cook Time: 50 minutes
- Total Time: 10 hours 5 minutes
- Yield: 1 loaf 1x
- Category: Bread
- Method: Baking
- Cuisine: European
- Diet: Vegetarian
Description
This no-knead sourdough bread recipe results in a perfect artisan loaf with a crackly golden-brown crust and a soft, chewy interior. The bread develops a complex, tangy flavor thanks to natural wild yeast fermentation, making it a bakery-quality bread made in your own kitchen with minimal hands-on time.
Ingredients
- 25g active sourdough starter
- 75g unbleached bread flour
- 75g filtered water (90°F)
- 100g ripe sourdough starter
- 300g filtered water (90°F)
- 500g bread flour
- 10g sea salt
Instructions
- In the evening, mix 25g of active sourdough starter, 75g of bread flour, and 75g of filtered water. Let rest overnight at room temperature.
- The next morning, combine 100g of ripe starter with 300g of warm water in a large mixing bowl.
- Stir until fully dispersed, then add 500g of bread flour and 10g of sea salt. Mix until a shaggy dough forms.
- Cover the bowl with plastic wrap and let the dough rise for 5-6 hours until it doubles in size.
- Dust your countertop with flour, turn the dough out, and shape it into a tight ball.
- Place the dough seam-side down in a proofing basket and cover loosely with plastic wrap. Let rise for 2-3 hours.
- Preheat your oven to 450°F and place parchment paper on the counter. Turn the dough onto the paper and score the top of the dough.
- Transfer the dough into a preheated Dutch oven, cover, and reduce the oven temperature to 425°F. Bake for 40 minutes, then uncover and bake for an additional 5-10 minutes until golden brown.
- Remove the bread from the oven and let it cool completely for at least two hours before slicing.
Notes
- Ensure your starter is active and bubbly for best results.
- If using all-purpose flour, expect a slightly softer texture.
- The dough will be sticky, which helps create the perfect artisan texture.
- Allow the bread to cool fully before slicing for the best crumb and flavor.
Nutrition
- Serving Size: 1 slice
- Calories: 237
- Sugar: 0.2g
- Sodium: 488mg
- Fat: 1g
- Saturated Fat: 0.2g
- Unsaturated Fat: 0.5g
- Trans Fat: 0g
- Carbohydrates: 48g
- Fiber: 2g
- Protein: 8g
- Cholesterol: 0mg