Valentine’s Day, anniversaries, or any sweet celebration becomes even more special with a beautiful heart shaped cake. This delightful dessert is not only romantic but also easy to make—no special pan required. With just two round cake layers and some basic tools, you can create a stunning heart-shaped centerpiece decorated with buttercream swirls and floral piping. Whether you’re baking for someone special or simply indulging your creativity, this heart shaped cake tutorial makes the process accessible and rewarding.
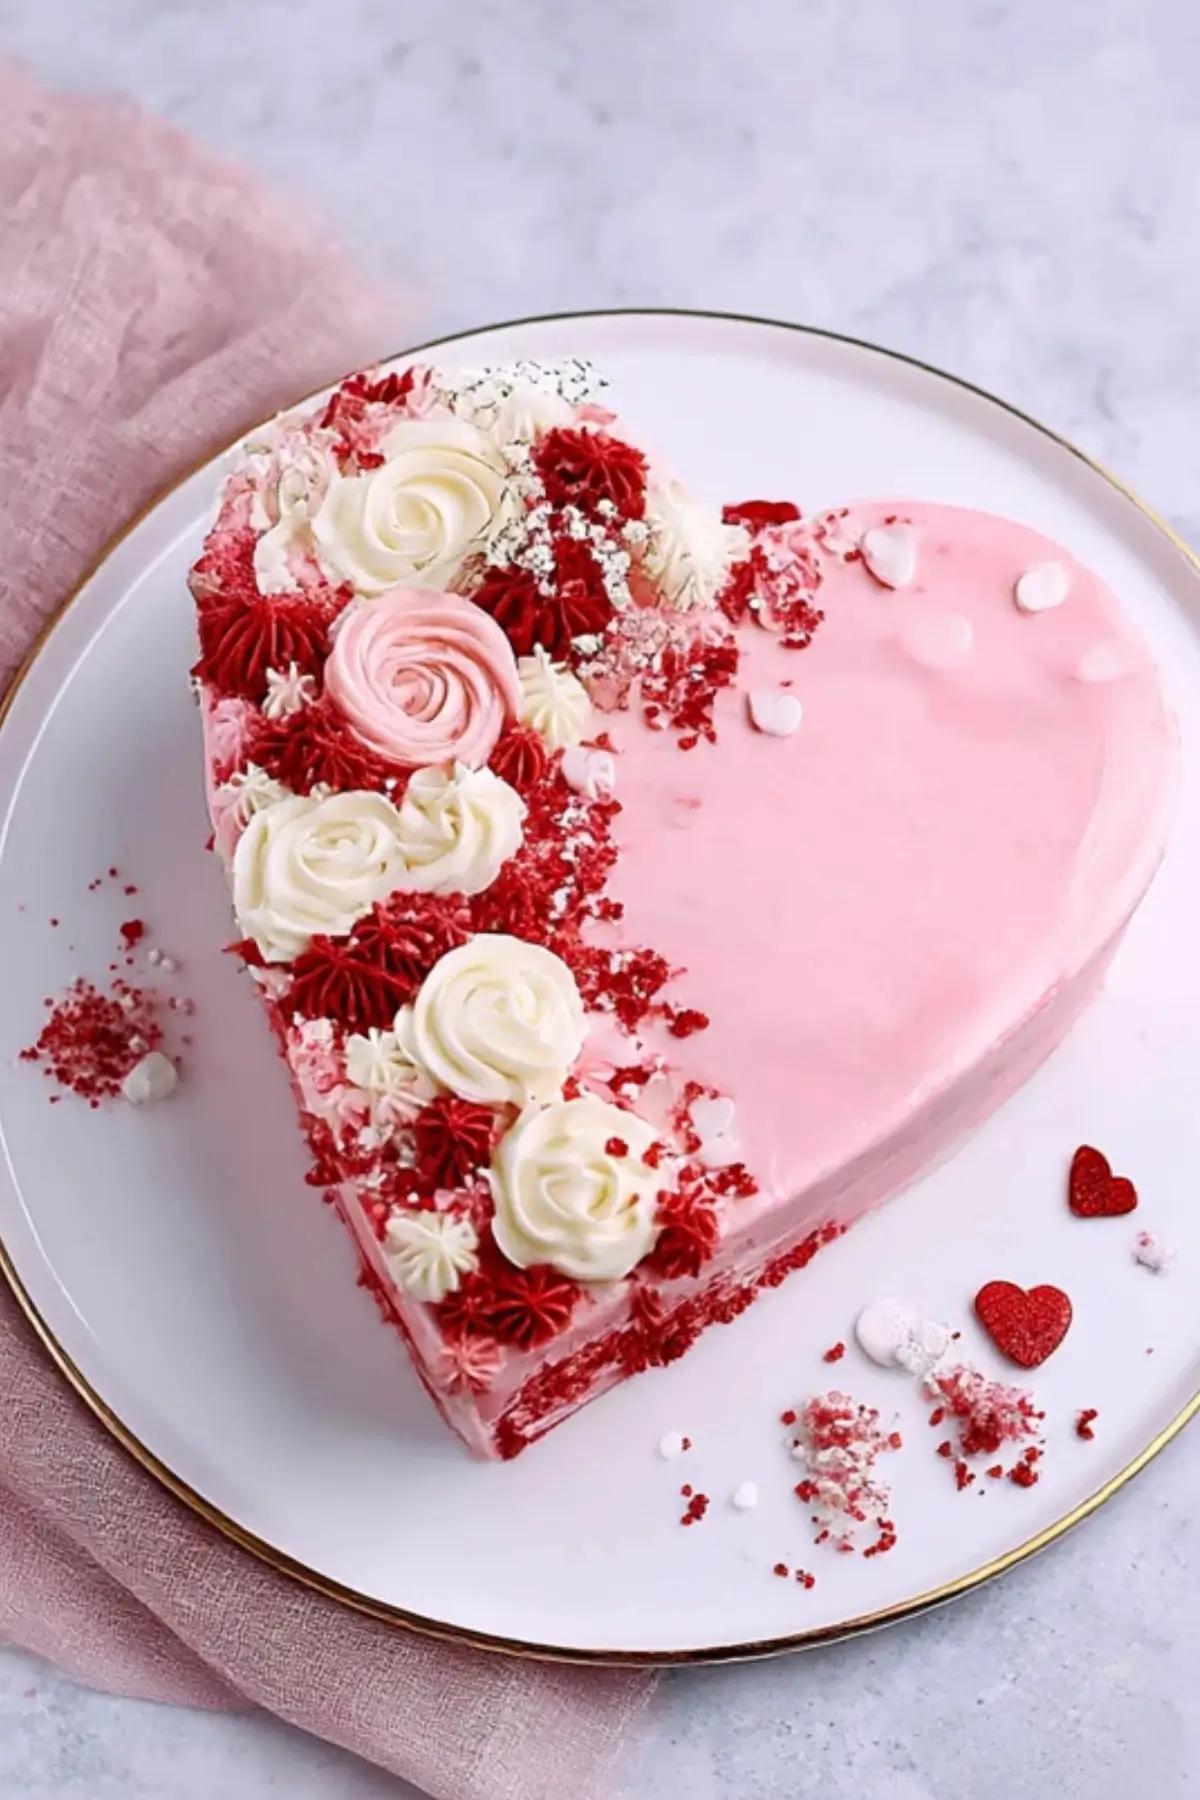
Table of Contents
Why This Heart Shaped Cake Is a Must-Try
This cake is incredibly beginner-friendly and doesn’t require a heart-shaped pan. It’s a clever baking hack that saves space and effort, especially if you don’t want to buy or store a novelty-shaped pan. All you need are standard round cake layers, a serrated knife, and buttercream to shape and assemble the heart. It’s also a great way to customize decoration using different piping techniques, colors, and sprinkles. Whether you’re a baking enthusiast or a first-timer, this cake delivers style, flavor, and fun in one easy project.
Ingredients You’ll Need for a Heart Shaped Cake
• Two Round Cake Layers: These form the base and are trimmed into a heart. Any flavor will work.
• Serrated Knife: Essential for cutting smooth, clean edges.
• 8-Inch Cake Board: Acts as the trimmed cake’s base and makes transfer easy.
• Cutting Board: For safe trimming and measuring.
• Buttercream Frosting: Provides structure, flavor, and decorative flair.
• Turntable: Helps frost and smooth the cake evenly.
• Icing Smoother: Perfects the edges and surface.
• Angled Spatula: Used to spread buttercream and swipe clean edges.
• Gel Food Coloring (Soft Pink, Chili Pepper, Super Red): Adds vibrant colors to your frosting.
• Piping Bags: For applying colored frosting in creative designs.
• Piping Tips (Wilton 1M, 4B, 32): Create rosettes, stars, and swirls.
• Sprinkles (Optional): Add sparkle and final touches.
Easy Ingredient Swaps and Variations
• Cake Flavor: Try red velvet, chocolate, lemon, or funfetti based on your celebration.
• Buttercream Alternative: Swap for cream cheese frosting or whipped ganache for different textures.
• Natural Food Coloring: Use beet powder, freeze-dried fruit powders, or turmeric for more natural hues.
• Vegan/Dairy-Free Options: Use plant-based butter and non-dairy milk in the buttercream.
• No Cake Board? Use a flat plate or trimmed cardboard wrapped in foil for easy lifting.
Step-by-Step Instructions for a Perfect Heart Shaped Cake
- Trim the Cake Layers
Place your first cake layer on a cutting board. With a serrated knife, cut a triangle from the top third of the cake—forming the V-shaped bottom of the heart. Save the two curved edge pieces you remove.
Repeat the same with the second cake layer. You can use the first as a guide to ensure symmetry. Also trim your cake board to match the new shape if needed. - Assemble the Heart Shape
Place a dab of buttercream in the center of your cake board and set down the first trimmed cake layer.
Reattach the curved pieces to the top to form the heart shape. Secure them in place with buttercream. - Add Filling and Stack the Layers
Spread a layer of buttercream filling on the first layer. Place the second trimmed layer on top, repeating the attachment of the curved pieces.
Use buttercream to join all pieces securely. - Crumb Coat the Cake
Apply a thin layer of buttercream around the entire cake to lock in crumbs and shape the heart. Chill in the fridge for 30 minutes to firm up. - Final Frosting and Decoration
Cover the cake with a smooth coat of pink buttercream. Use an icing smoother on the sides and an angled spatula on the top to create sharp, clean edges.
Chill the cake again for 20 minutes. - Color the Buttercream
Divide remaining buttercream into three bowls.
• Bowl 1: Deep red (Chili Pepper + Super Red)
• Bowl 2: Mid-tone pink (mix of deep red and plain)
• Bowl 3: Pale pink or pink-cream (small amount of pink added) - Pipe Decorations
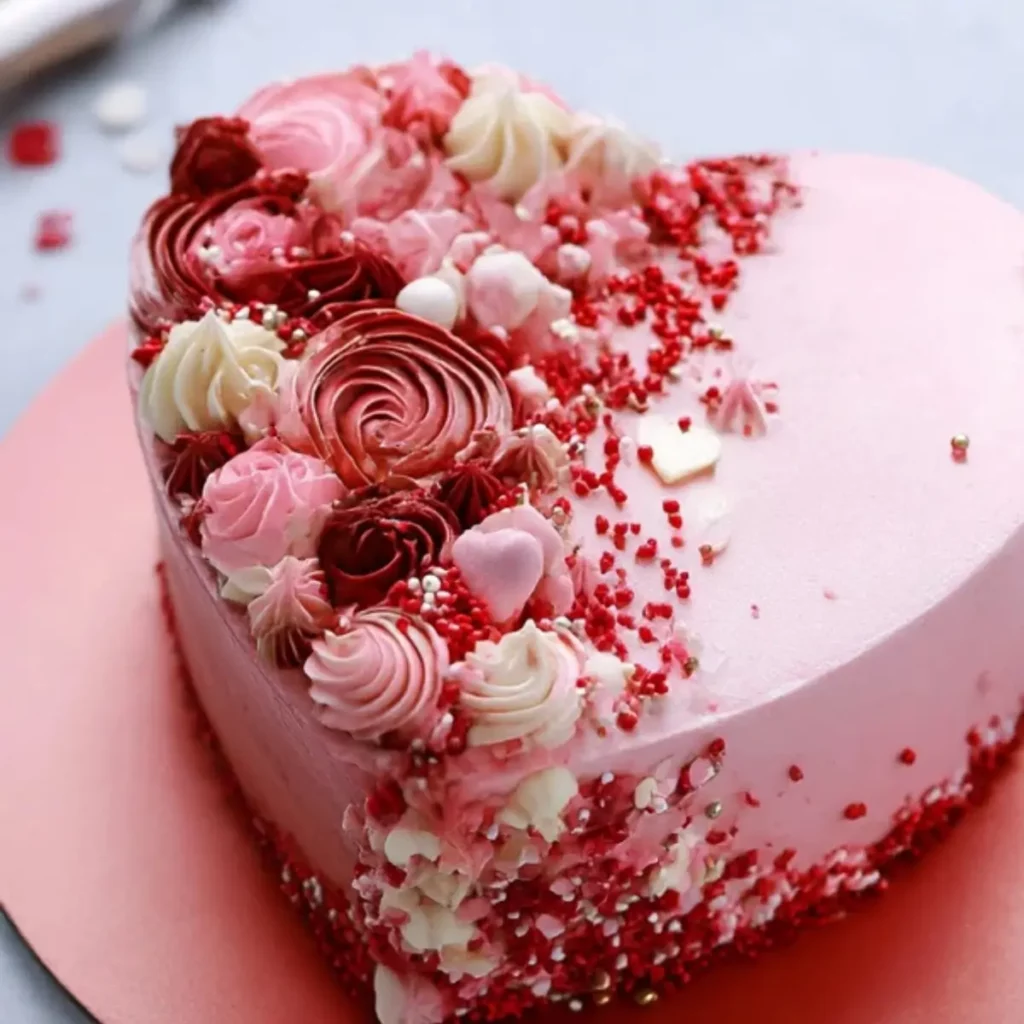
Using piping bags and tips, create swirls, stars, and floral accents in your chosen colors.
• Use 1M for large rosettes and swirls
• Use 4B and 32 for smaller stars and decorative filler
Finish with a sprinkle of decorations like Vintage Rose Gold or any festive mix.
Helpful Tips to Improve Your Heart Shaped Cake
• Chill your layers before cutting to avoid breaking or crumbling.
• Crumb coat is key—don’t skip it! It gives the final coat a clean finish.
• When mixing frosting colors, start with small drops of coloring and adjust gradually.
• For sharper heart edges, use your spatula to press in the center indent after crumb coating.
• Clean your tools between frosting colors to prevent muddy shades.
Serving Ideas, Flavors, and Variations
• Flavor Combos: Try strawberry cake with vanilla frosting, or chocolate cake with raspberry buttercream.
• Mini Hearts: Use smaller round pans for individual cakes, great for parties or gifts.
• Themed Decorations: Go red and green for Christmas, pastels for Easter, or bold neons for birthdays.
• Storage Tips: Keep leftovers in an airtight container in the fridge for up to 3 days. Bring to room temperature before serving.
• Make-Ahead: Bake and trim cake layers a day ahead. Store wrapped tightly. You can even frost and chill the full cake the day before your event.
Celebrate with Love—No Special Pan Needed
This heart shaped cake is proof that you don’t need complicated tools to create something beautiful. With everyday pans and a little buttercream magic, you can craft a showstopping dessert that’s full of personality and love. Customize it with your favorite flavors, colors, and decorations for a treat that’s as memorable as the occasion. Whether it’s Valentine’s Day or just a Tuesday treat, this cake brings heart and joy to the table.
Conclusion
Creating a heart shaped cake is a fun and rewarding baking project that doesn’t require a special pan. By simply using round cake layers and a little creativity, you can make a beautiful dessert that’s perfect for any occasion. Whether you’re celebrating Valentine’s Day, an anniversary, or just want to surprise someone special, this heart shaped cake is sure to impress. The versatility of the design allows you to customize the flavors, colors, and decorations, making it a perfect dessert for any celebration. With this easy-to-follow guide, you can transform ordinary cake layers into a charming and delicious work of art.
FAQ
How do I prevent my cake from crumbling?
Chill the cake layers before trimming and use a crumb coat to help lock in moisture and prevent crumbling.
Can I make this cake in advance?
Yes, you can bake the layers a day ahead and store them wrapped in plastic. Decorate the cake a few hours before serving.
Can I use a different cake flavor?
Yes, you can use any flavor of cake, such as vanilla, chocolate, or red velvet, depending on your preference.
More Relevant Recipes
- Lemon Bar Cookies: Easy & Delicious: These bright, tangy cookies are the perfect combination of a crispy crust and a zesty lemon filling, making them a delightful dessert that’s easy to prepare. They pair wonderfully with the soft texture of a heart shaped cake and offer a refreshing citrus twist.
- Red Velvet Trifle Cups: Decadent Dessert: A rich and decadent dessert that layers moist red velvet cake with fluffy cream cheese frosting, offering a visually striking and indulgent treat. The deep red color and festive presentation make it a perfect companion for a heart shaped cake, especially for special occasions like Valentine’s Day.
- Mini Orange Cheesecakes: These bite-sized cheesecakes with a citrusy orange flavor provide a light and creamy dessert that contrasts beautifully with the dense richness of a heart shaped cake. They’re perfect for serving alongside as part of a dessert spread for any celebration.
Easy Heart Shaped Cake Tutorial
- Prep Time: 30 minutes
- Cook Time: 25 minutes
- Total Time: 1 hour 30 minutes
- Yield: 1 heart shaped cake (8 inches) 1x
- Category: Dessert
- Method: Baking and Decorating
- Cuisine: American
- Diet: Vegetarian
Description
This heart shaped cake is a perfect dessert for special occasions like Valentine’s Day or anniversaries. Made using round cake layers and buttercream, it is decorated with a stunning floral piping design. It’s a beautiful and delicious way to show your love and creativity!
Ingredients
- Two 8-inch round cake layers (any flavor of your choice)
- Buttercream frosting (2 batches)
- Serrated knife
- 8-inch cake board
- Cutting board
- Gel food coloring (Soft Pink, Chili Pepper, Super Red)
- Piping bags
- Wilton piping tips (1M, 4B, 32)
- Sprinkles (optional)
Instructions
- Trim the cake layers by cutting the top thirds of each layer to form the pointed part of the heart. Save the curved pieces for the top.
- Assemble the heart shape by placing the trimmed cake layer on a cake board and adhering the curved pieces to the top with buttercream.
- Add filling and place the second cake layer on top, securing the curved pieces with buttercream as well.
- Apply a crumb coat to the entire cake, covering it with a thin layer of buttercream. Chill the cake in the fridge for at least 30 minutes.
- Frost the cake with light pink buttercream, smoothing the edges with an icing smoother. Chill again for 20 minutes.
- Divide the remaining buttercream into three bowls. Add food coloring to each bowl to make different shades of pink and red.
- Pipe floral designs on the cake using Wilton tips 1M for rosettes, 4B for stars, and 32 for small swirls and stars. Finish with sprinkles if desired.
Notes
- Chill the cake layers before trimming to prevent them from crumbling.
- Ensure the crumb coat is thin and smooth to help the final layer adhere well.
- Use a turntable to help with even frosting and decoration.
- Feel free to get creative with your frosting color scheme and piping designs.
Nutrition
- Serving Size: 1 slice
- Calories: 350
- Sugar: 35g
- Sodium: 150mg
- Fat: 20g
- Saturated Fat: 12g
- Unsaturated Fat: 6g
- Trans Fat: 0g
- Carbohydrates: 45g
- Fiber: 2g
- Protein: 3g
- Cholesterol: 40mg